Learning how to grow mushrooms at home can be intimidating at first. There’s all the new lingo, a grocery list of different equipment to consider buying, a million conflicting opinions on the best techniques, and the ever-looming risk of contamination.
Yet as you become more experienced, you’ll likely learn how so many of the techniques and so much of the equipment you once thought were vital are actually rather unnecessary. You might also begin finding yourself in awe at fungi’s profound resiliency.
And if you’re growing mushrooms on a small scale, say, in your home, you’ll probably come to the conclusion that learning how to grow mushrooms at home is one of the easiest, simplest, cheapest ways to provide healthy food, potent medicine, and an improved quality of life to yourself and your community.
We get it. You don’t have much time and for many of you, much money either. Don’t worry, we’ve crafted this article with you in mind. Below, you’ll learn five simple and cheap ways to grow mushrooms at home.
Let’s get to it!
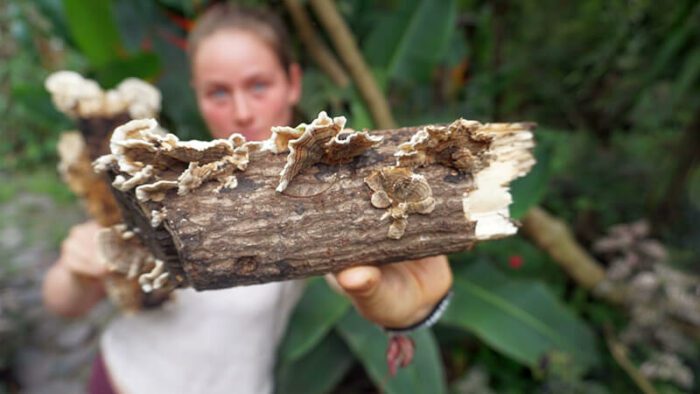
Growing mushrooms outdoors on hardwood logs is by far the cheapest, easiest, and most passive method for how to grow mushrooms at home. Pre-inoculated logs can be purchased online or better yet, from local mushroom producers in your area. Once you have the logs, you simply set them in a shady, preferably moist area of your yard—I recommend leaning them vertically against a wall/fence or stacking them atop one another perpendicularly in a square like a log cabin—and wait.
Between one and three years later, your logs will begin to fruit mushrooms and will then likely produce a flush of mushrooms every year for three to five years. Some people recommend soaking the logs in water overnight after each harvest, but if you don’t want to invest even that minimal time and effort, your log, while likely to produce less mushrooms than if it were soaked, will still be just fine. And don’t worry about storing it in your house in the winter. Fungi naturally go dormant during the cold months. As for the heat of summer, it’s a good practice to moisten your log with a spray of the hose each time you water your garden.
As for making your own logs, this is also extremely easy and a great option if you have access to freshly cut hardwood logs. After waiting a couple weeks post-tree harvest, all you need to do is drill holes all across the log about 3.5 inches apart and 1.5 inches deep, fill the holes with colonized wooden dowels or sawdust spawn, seal them with wax—beeswax is best—and set them to rest as previously explained.
In my opinion, the second cheapest and easiest method for how to grow mushrooms at home is to buy a pre-made grow kit from an online or local vendor. By purchasing a kit, you skip every step of the growing process except the last: fruiting the actual mushrooms! In this way, you end up with mushrooms much quicker than the outdoor log method since grow kits typically arrive fully colonized and ready to fruit.
Once you receive your kit, all you need to do is set your kit in an area with indirect sunlight, slice a four to six-inch-long incision diagonally across one side of the bag, cover the kit loosely with a plastic bag, and keep the environment surrounding the mushrooms—i.e. the air inside the bag covering your kit—humid with two to three light mistings per day. After about one to two weeks, you should have mushrooms ready to harvest. Once you harvest the mushrooms, simply re-cover the kit with your makeshift humidity tent (aka your plastic bag), keep misting two to three times daily, and another week or two later you will have more mushrooms to harvest. With a grow kit, you can expect two to four flushes of mushrooms before the kit is spent.

But here’s the kicker: once you’ve gotten all the flushes you can from the kit, you can then open the bag and spread its contents into a garden bed. Then, moisten the garden bed, cover it with fresh wood chips, water the area every couple days, and you may have mushrooms popping out of your garden bed in a few weeks!
Avoid directly misting your mushrooms. The idea is to keep the air around the mushrooms humid without making the mushrooms wet. The act of moving the bag to mist the area also causes some fresh air to flow into the bag, which will allow your mushrooms to become larger and denser. If the mushrooms grow elongated and are “stemmy,” this means they need more fresh air. If the mushroom caps are cracked, it means they need more moisture.
The name shotgun fruiting chamber sounds a bit daunting? In reality, though, it’s just another simple method for how to grow mushrooms at home with only a couple more steps than the plastic bag technique described above.
In essence, a shotgun fruiting chamber is a clear plastic storage bin—54 to 66 quarts is a good size—with a bunch of small ¼ to ½-inch holes drilled in the sides for fresh air exchange. To maintain a high humidity, you line the bottom of the bin with an absorbent, moisture retaining material like perlite, though even a damp towel will do. Then, mist the heck out of the perlite/towel, mist the side walls of the bin, slice a four to six-inch-long incision diagonally across one side of the bag, place the kit into the plastic bin, and close the top. Voila, you’re done!

Grown this way, your kit will get plenty of fresh air exchange. All that’s needed is a two to three times daily misting of the bin’s side walls, a little fanning of the inside of the bin with the bin top each time you mist, and some patience. Though this technique necessitates a little more effort than the plastic bag technique, you can expect larger, denser, happier mushrooms. Plus, your shotgun fruiting chamber can be used over and over again, meaning the extra effort is only a one-time ordeal. And it only costs about $20 and takes about 30 minutes to make. It’s simple, cheap, and effective; the trifecta!
The idea with this list is that as we move from #1 to #5, the techniques become a bit more complicated and time intensive. Yet let us be clear: while all of these techniques are simple ways for how to grow mushrooms at home, the key is to choose a method that best suits your unique situation.
Maybe you don’t have the time to mist your mushroom kit three times per day. Well, the grow kit with plastic bag and the shotgun fruiting chamber technique aren’t for you. And maybe you don’t want to wait a couple years for your outdoor logs to fruit before eating some delicious homegrown mushrooms. Well, the monotub technique might be just what you need.
To start, a monotub and a shotgun fruiting chamber are made from the same basic raw material: a clear plastic storage bin that’s 54 to 66 quarts large. This time, though, we’re drilling far fewer holes and instead of putting a pre-made grow kit into the tub, our tub will be its own grow kit and fruiting chamber in one.
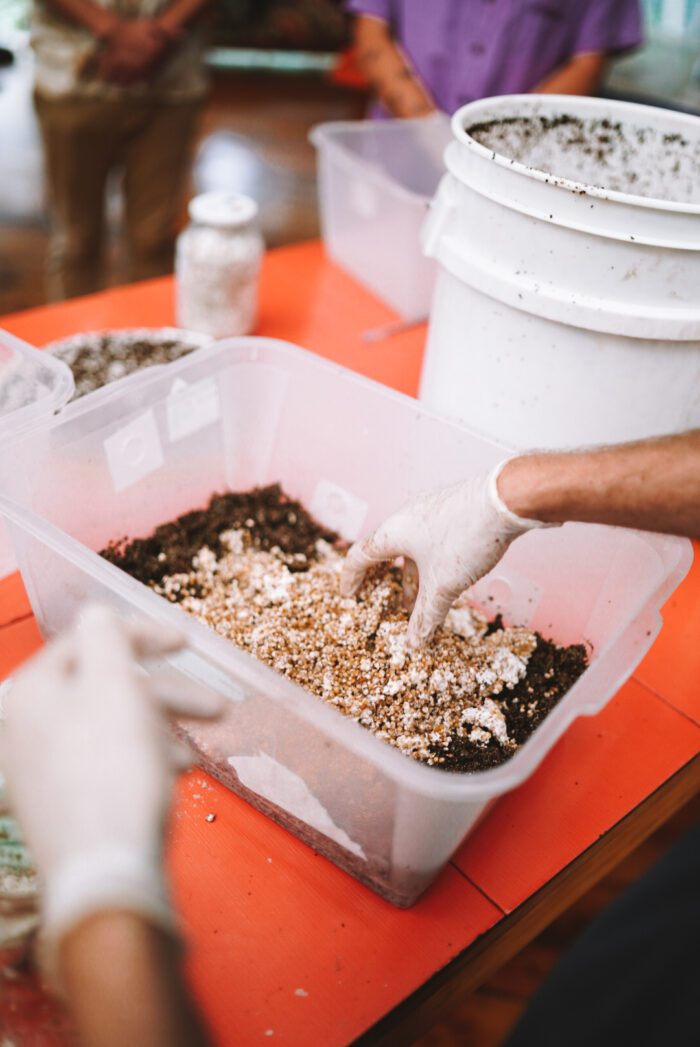
Without going into too much detail—that’s what our Sacred Mycology online course and our in-person 6-day intensive Mushroom Cultivation course is for—you basically drill two, 2-inch wide holes equidistant from each other along the long side of the tub, and one, 2-inch wide hole on each of the short sides of the tub. Then, you sanitize the tub with 70% isopropyl alcohol, fill the tub with your pasteurized and properly hydrated bulk substrate—typically a mix of manure, coconut coir, sawdust, or straw depending on the mushroom you’re growing—mix in your colonized grains, seal the holes you just made with micropore tape, place the top on the tub, set it, and…forget it!

The beauty of a monotub is that both the colonization and fruiting processes happen inside the tub without any maintenance. With a properly hydrated substrate and those wide holes covered with micropore tape, your tub will have plenty of ambient humidity and fresh air exchange to support healthy, happy mushrooms. You don’t even need to mist or fan, though you can if you’d like. Monotubs, while requiring a bit of extra effort at the start, are relatively maintenance free afterwards. Now that’s one simple, efficient, cheap method for how to grow mushrooms at home!
Only certain species of mushrooms will work well in a monotub. Oyster mushrooms (Pleurotus spp.) are one, as are Reishi mushrooms (Ganoderma lucidum). Other species like Lion’s Mane (Hericium erinaceus) and Shiitake (Lentinula edodes) are not suited for this type of growing environment.
Our last method for how to grow mushrooms at home requires the largest upfront investment in time and money but can easily produce 50 pounds of mushrooms per month. Meet Martha, a greenhouse style mushroom fruiting chamber made from repurposing a hanging closet. In a past post, we covered how to make an almost completely automated Martha that costs about $200 to make and can handle 16 fruiting grow kits without any work other than refilling your humidifier with water every few days, cleaning the greenhouse once per month, and harvesting your glorious homegrown mushrooms.
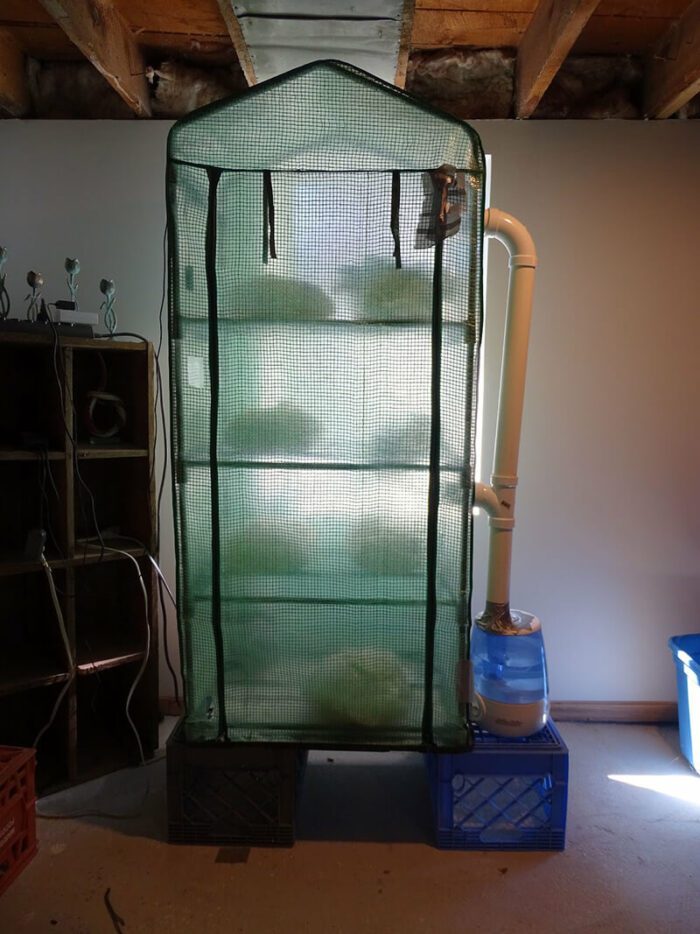
But there is a far simpler way of making a Martha than requires dailyy misting and fanning but costs only around $40. Basically, you simply buy a hanging closet or mini greenhouse like this one, put it together, load it with grow kits, then mist the inner walls and fan the inside of the greenhouse to bring in fresh oxygen two to three times per day. Grab a spray bottle and a plastic tray that can fit at the bottom of your Martha, and you’re good to go.
The only other consideration you need to make is that if you are growing mushrooms with heavy spore loads (e.g. Oysters or Reishi) in your home, you need to exhaust the spores out of your house. A simple design for an exhaust system can be found in our Martha post here.
If your mushrooms are growing long stems and small caps, you need to increase your fresh air exchange and oxygen levels. You can do this by cutting slits into the walls of your greenhouse or by installing an exhaust fan and ducting as described in our Martha post.
By now, you should be a bit more confident in your ability and knowledge of how to grow mushrooms at home. Growing mushrooms doesn’t have to be expensive, technical, or time-intensive, and there are methods for people from all walks of life, from the thrifty DIY person with a spray gun and a dream to the techy types with $200 to burn, no time, and visions of bountiful mushroom harvests every week. In many ways, the potential and options are only limited by your imagination.
As a wise man (me) once opined, “the question my is not ‘Can I grow mushrooms in my home’ but rather ‘How can I not grow mushrooms in my home?’”
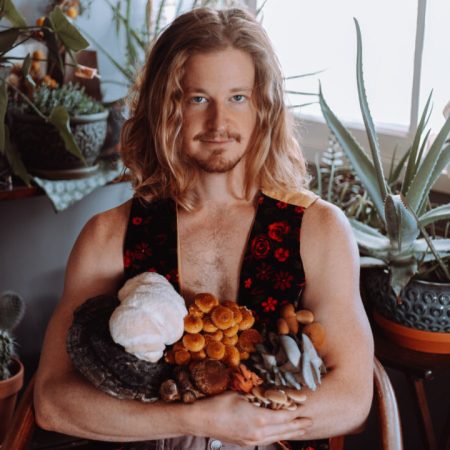
Sam is a writer, award-winning journalist and professional mycologist from the United States who arrived at the Fungi Academy one midsummer’s day in 2019 and left six weeks later with lifelong friends and a passion for mushroom cultivation.
In the past year three years, he’s built a laboratory and fruiting room in his home, cultivated and foraged over 20 species of gourmet and medicinal mushrooms, started a medicinal mushroom tincture business and returned to the Fungi Academy to teach his techniques to students.