Quick answer: Growing magic mushrooms at home follows six stages: get a spore syringe or culture, inoculate sterilised grain to make spawn, let it fully colonise, mix the spawn into a pasteurised bulk substrate, fruit it in a humid environment with fresh air and light, then harvest. A first grow takes roughly 8–12 weeks. The process is identical for Psilocybe cubensis and for gourmet species like oyster or lion’s mane — only the legal status differs.
Growing your own mushrooms is honestly one of the most rewarding skills I know — and I say that after more than a decade of doing it here at Fungi Academy HQ in Tzununa, Guatemala. It connects you to your own food and medicine in a way that’s hard to explain until you’ve done it. The first time you watch a tub you built yourself erupt into a flush, something clicks. You stop seeing mushrooms as a product and start seeing them as a relationship.
And here’s the thing nobody tells beginners: the cycle isn’t complicated, it’s just unfamiliar. Once you understand the six stages — really understand why each one matters — you never forget it. This guide walks the whole thing, spore to harvest, in plain language, so you know exactly what you’re getting into before you spend a cent. I’ll also be upfront about where people usually stumble, because watching students trip over the same handful of mistakes for years teaches you a lot.

Is it legal to grow magic mushrooms?
I have to start here, because it matters. The legal status of psilocybin mushrooms varies enormously by country, state, and city — and the laws are shifting fast right now. Some places have decriminalised, a few have legalised supervised use, and plenty still treat cultivation as a serious offence. Before you grow any psychoactive species, check the laws where you actually live. Don’t rely on what a forum told you about somewhere else.
Here’s the genuinely good news, though. Every single technique in this guide works identically for gourmet and medicinal mushrooms — oyster, lion’s mane, reishi, shiitake. The Fungi don’t care about our legal categories. Sterile technique is sterile technique. Colonisation is colonisation. So if Psilocybe cubensis isn’t legal where you are, you can still learn the entire craft, legally, with non-psychoactive species — and the skills transfer over completely. A lot of the most confident psilocybe growers I know cut their teeth on oyster mushrooms first. Fungi Academy shares this information for education only.
What you need to get started
People imagine they need a lab. They don’t. Home mushroom cultivation needs a clean-ish workspace and a fairly short list of equipment, most of which costs under $250 all in — and after your first grow, the running cost is almost nothing.
Here’s the core kit and what each piece is actually for. You’ll need a spore syringe or live culture (your genetic starting point), a still air box or flow hood (a calm pocket of still air so dust and mould spores aren’t drifting onto your work), a pressure cooker (the only reliable way to fully sterilise grain — a regular pot won’t reach the temperature you need), grain such as rye berries or whole oats or wild bird seed, a bulk substrate — usually coco coir and vermiculite — and a fruiting chamber, most commonly a monotub made from a clear storage bin.
That’s it. No incubator, no expensive gadgets. Most growers I know work on a kitchen table or a quiet corner of a bedroom. If you want a full breakdown of gear and where to source it without getting ripped off, we put it all in our 14 resources for growing mushrooms. My one piece of advice: buy decent jars and a pressure cooker that’s bigger than you think you need. You’ll thank yourself by grow number three.


Free Beginner’s Guide
Grow your first mushrooms — for free
Get the free guide that walks new growers through the whole path — plus 5 free videos to send you on your way.
- The exact gear you need — and the pricey stuff you don’t
- Where to source spores & cultures without getting scammed
- How to spot and beat contamination before it wipes out your grow
How to grow magic mushrooms: the six stages
Every grow, no matter the species or the method, moves through the same six stages. Think of it as a relay race — the mycelium runs from one substrate to the next, getting bigger and stronger each leg, until it finally has enough mass and energy to do the thing it’s been building toward: fruit. Here’s each stage, what’s happening, and what to watch for.
Stage 1 — Spores and cultures
Every grow begins with a genetic starting point: spores or a live culture. A spore syringe holds psilocybe spores suspended in sterile water — spores are the fungal equivalent of seeds, and like seeds they carry genetic variation, so a syringe gives you a slightly mixed bag. A liquid culture or agar culture, by contrast, contains living mycelium that’s already growing. Cultures colonise faster, more predictably, and let you select for the healthiest, most vigorous genetics.
My honest recommendation for a first-timer: start with a spore syringe from a trusted spore vendor. It’s cheaper, it’s forgiving, and there’s something grounding about beginning from spores — the rawest, most fundamental form the Fungi take. Once you’ve got a grow or two under your belt and you’re itching for speed and consistency, graduate to liquid culture. Don’t rush that step. The spore-to-harvest journey teaches you patience, and patience is the actual skill here.
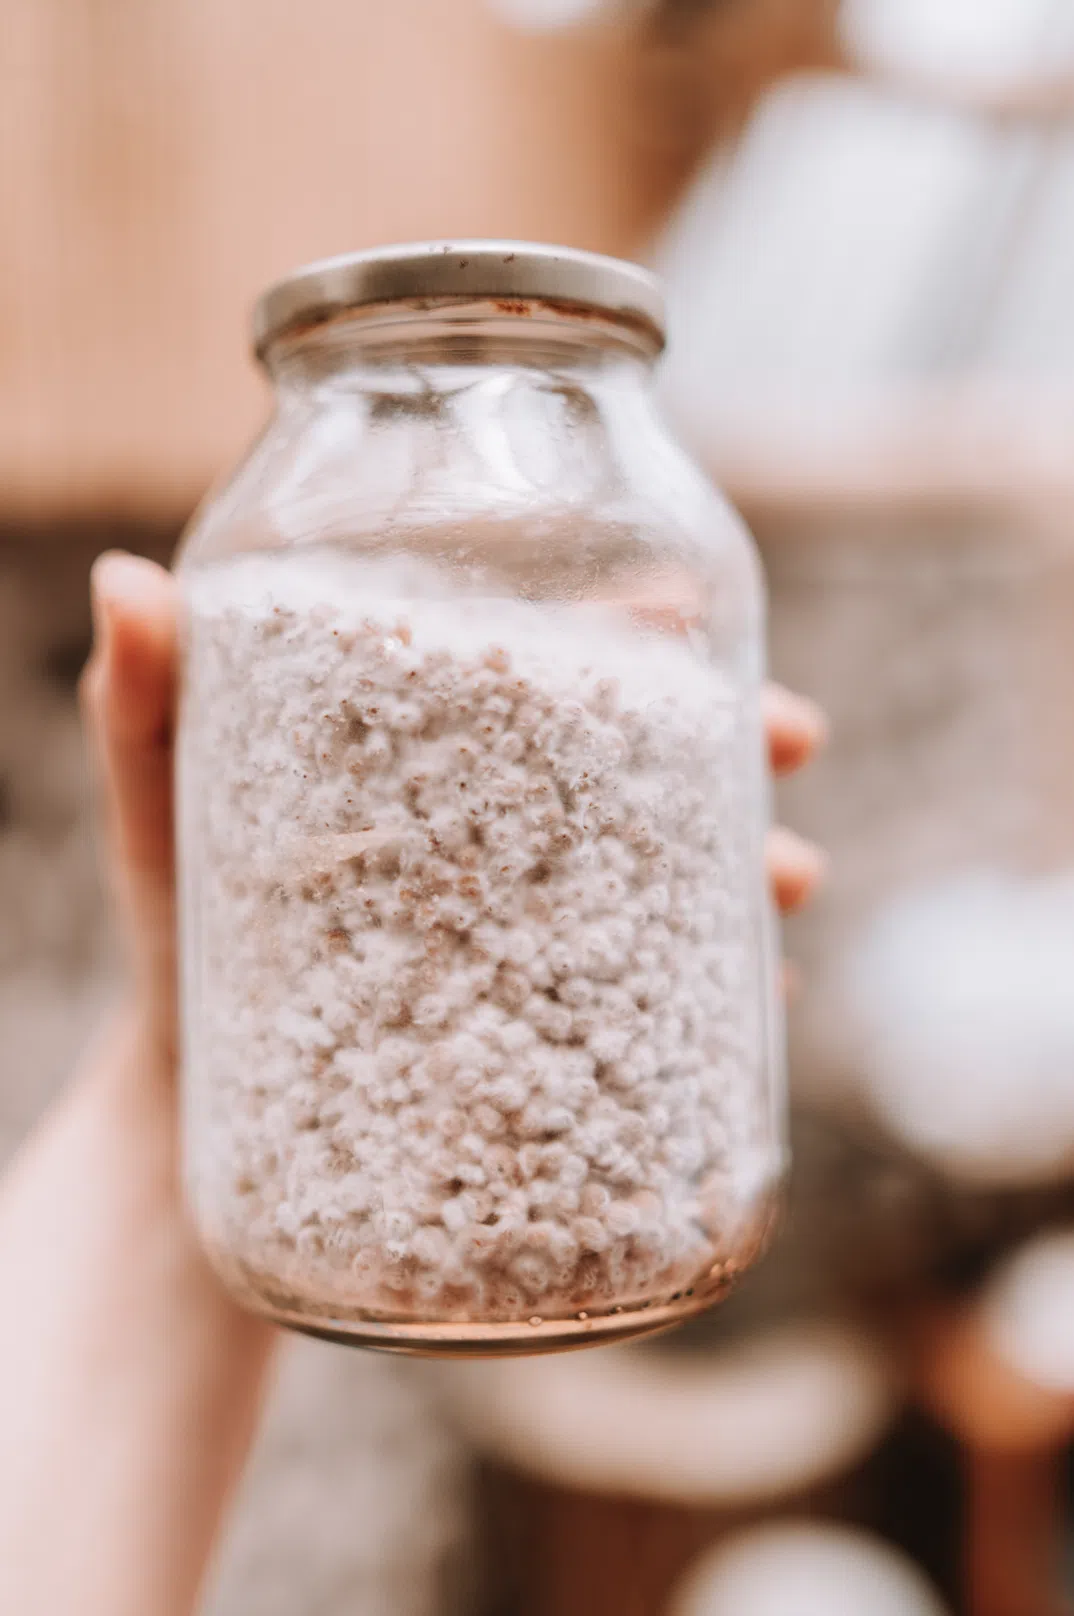
Stage 2 — Grain spawn
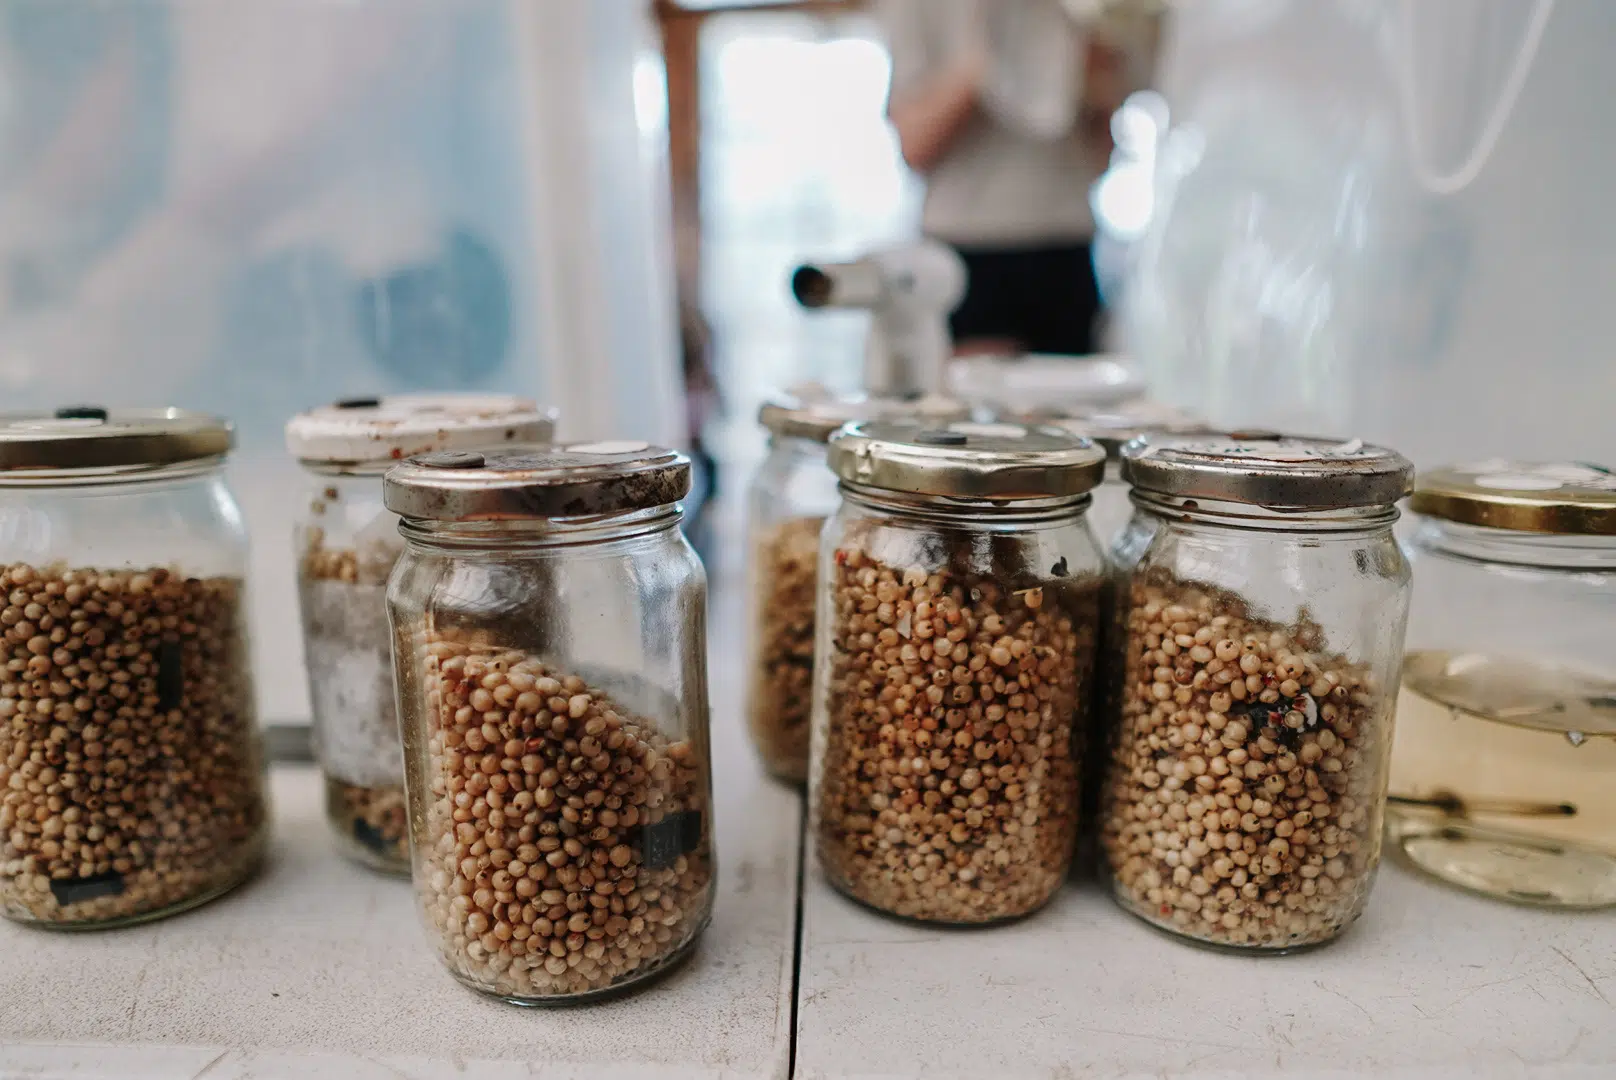
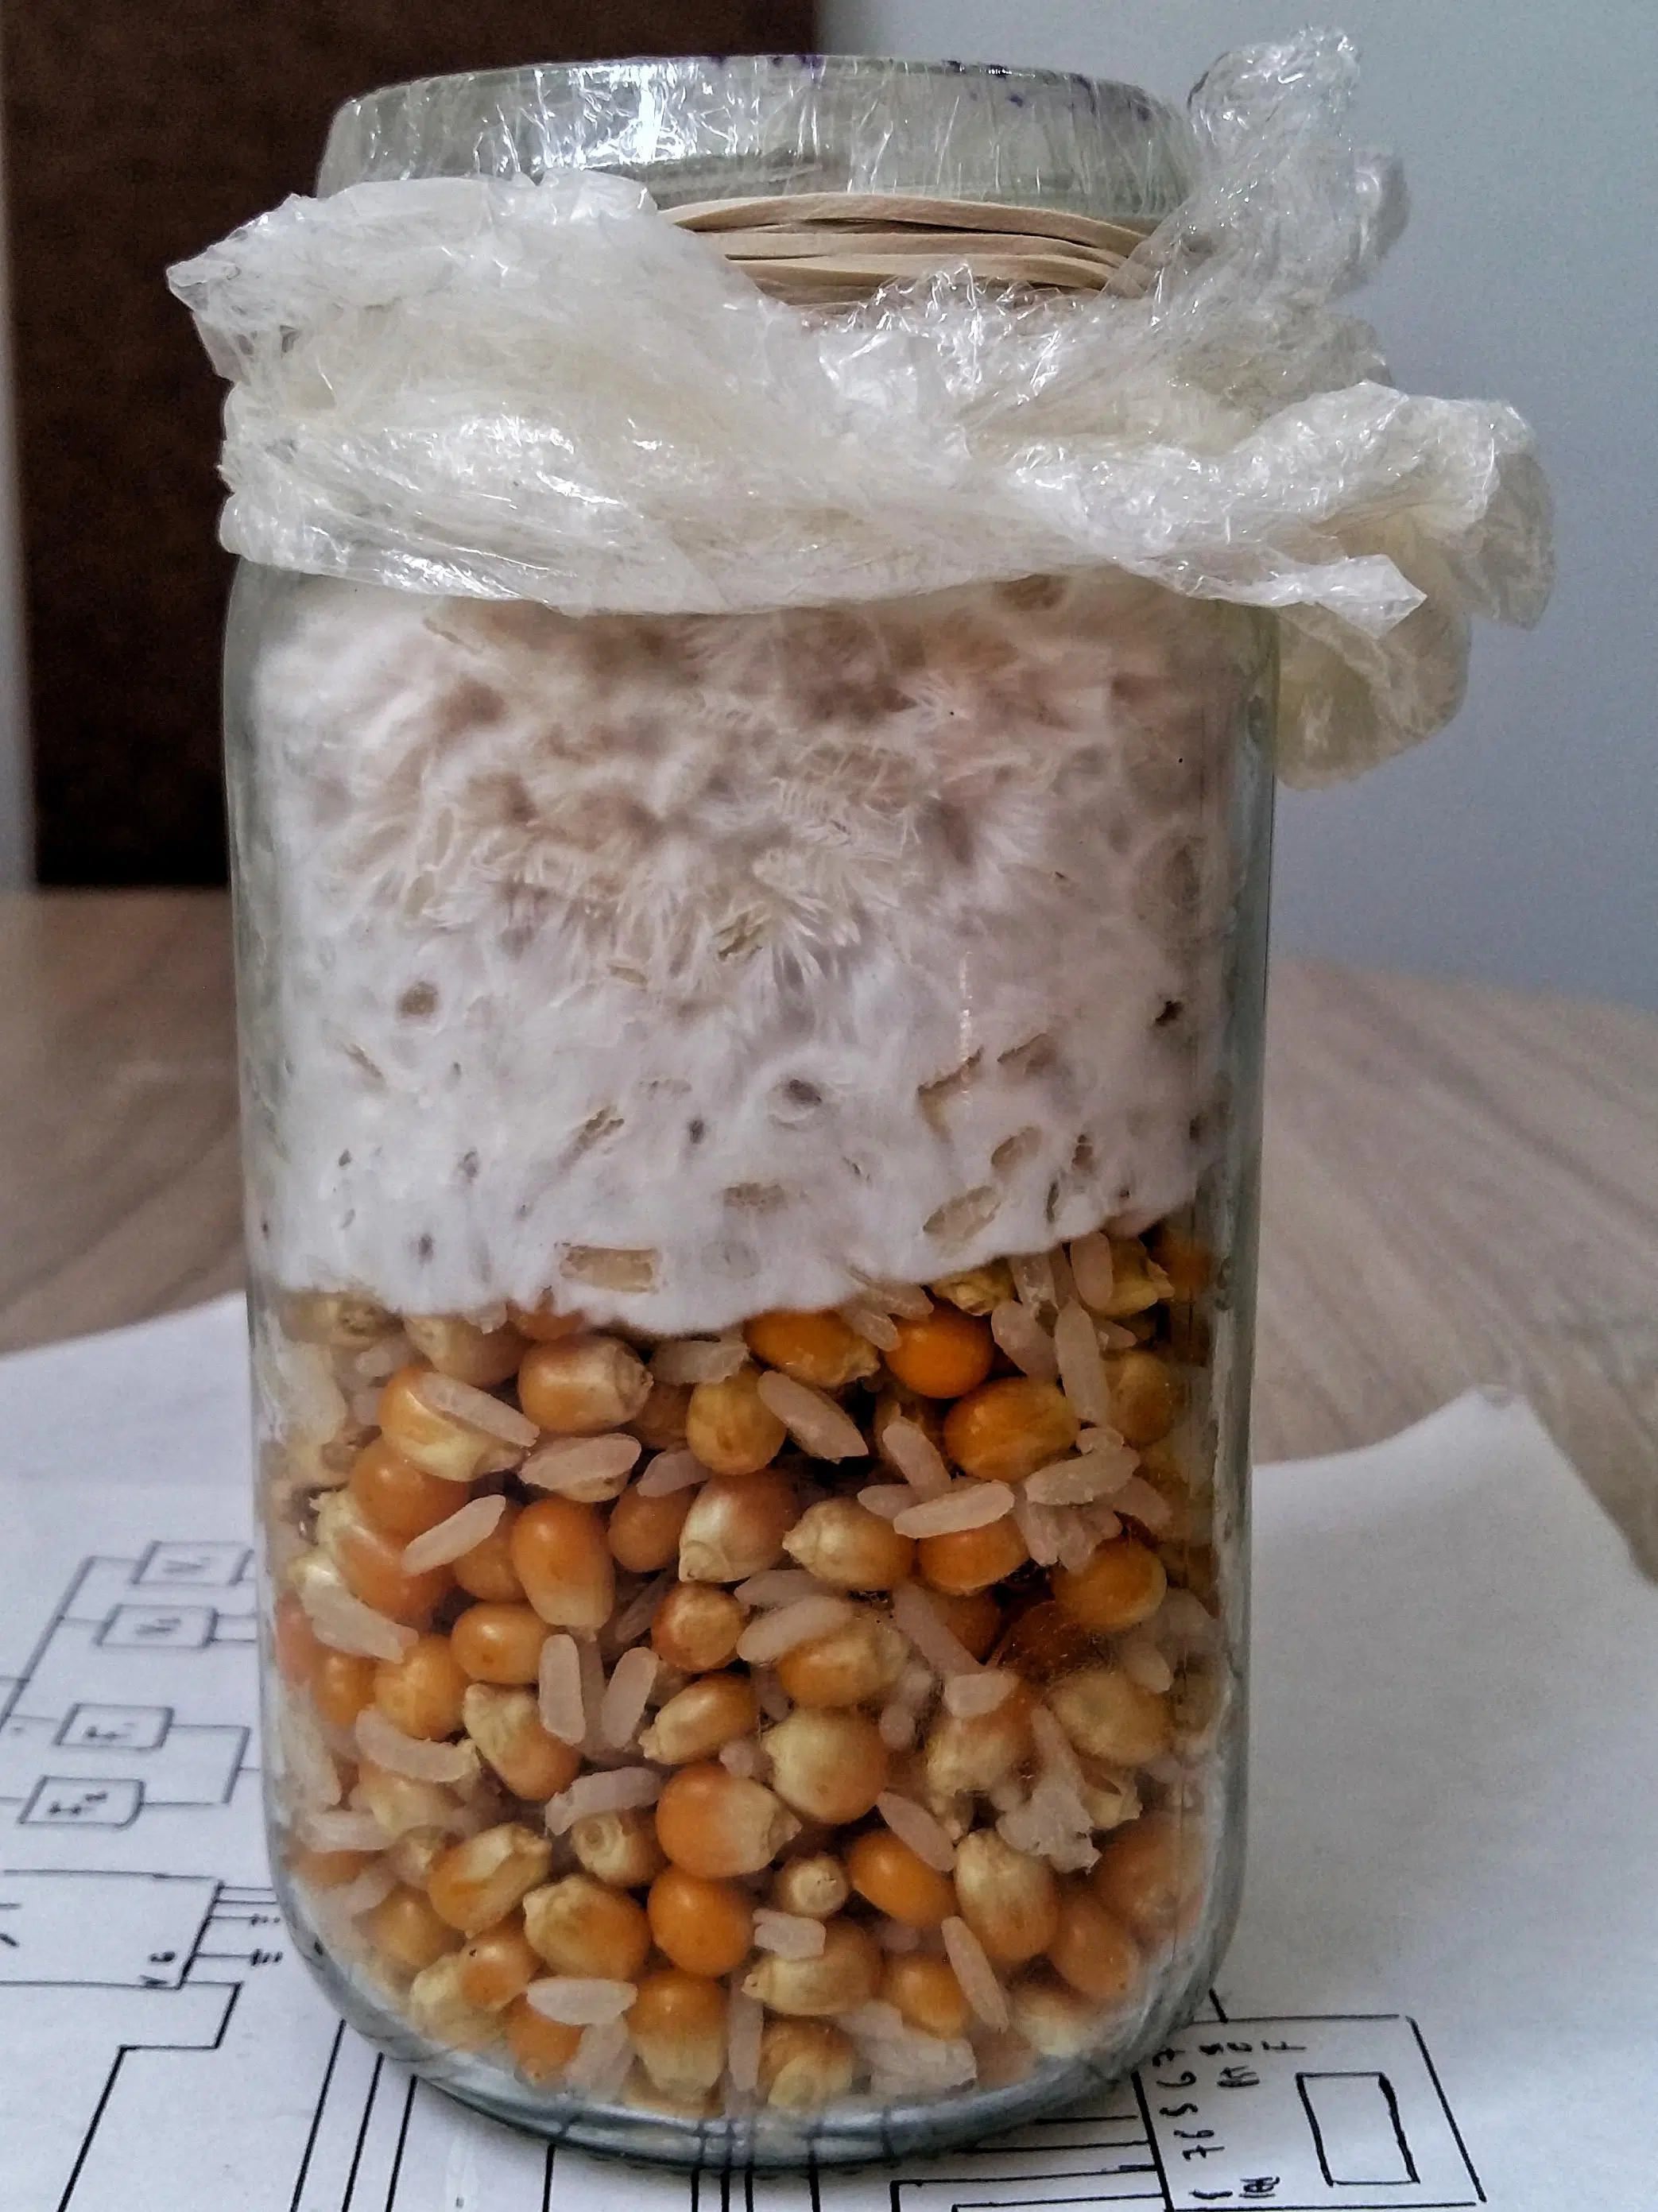
Grain spawn is sterilised grain that’s been inoculated with your spores or culture — it’s the “seed” that carries your grow forward. Grain is the perfect halfway house: nutrient-dense enough to fuel fast, vigorous mycelial growth, and easy to break up and distribute later.
The process: you hydrate your grain (a soak or a simmer), drain it to “field capacity” — damp but no standing water, this detail matters more than beginners think — load it into jars, and sterilise it in a pressure cooker, typically at 15 PSI for around 90 minutes. Then comes the part everyone underestimates: let the jars cool completely. Inoculating warm grain kills your culture or cooks condensation problems into the jar. Once cool, you inject your spore syringe or add your culture inside your still air box, keeping everything as clean as you can. A few days later, when you see the first specks of white, give the jar a gentle shake to spread those growth points around — it dramatically speeds up the next stage.
Stage 3 — Colonisation
Colonisation is the quiet stage — the one where it looks like nothing is happening and everything is. White mycelium spreads through the grain, jar by jar, eating its way through until every kernel is consumed. Kept somewhere dark and stable at around 21–24°C (70–75°F), a jar typically fully colonises in 2–4 weeks.
Your job here is mostly to leave it alone and observe. Resist the urge to open jars and poke around — every time you crack a lid, you invite contamination. Healthy mycelium is bright, even, cottony white. If you see anything else — green, grey, black, slimy patches, wet spots, or anything that smells sour rather than pleasantly mushroomy — that’s contamination, and that jar should go. It’s hard to throw out a jar you’ve waited weeks for, I know. But a contaminated jar near a clean one is a liability. Once a jar hits 100% colonisation, I like to let it sit and “consolidate” for another few days — the mycelium toughens up and the next stage goes smoother.

Stage 4 — Bulk substrate
Bulk substrate is the big, nutrient-rich bed your colonised grain gets mixed into so it can grow a far larger flush than the grain alone ever could. The standard beginner substrate is pasteurised coco coir and vermiculite — cheap, widely available, and forgiving. Some growers add a little gypsum for structure.
You pasteurise the coir by hydrating it with very hot or boiling water in a sealed bucket and letting it cool — this knocks back competitor organisms without fully sterilising, which keeps a healthy background biology that actually helps. Once it’s cooled to room temperature and squeezed to field capacity, you mix your fully colonised grain into it inside a monotub. A roughly 1:2 spawn-to-substrate ratio is the sweet spot for beginners: spawn-heavy, so the mycelium overwhelms any competition fast, forgiving of small mistakes, and it still gives strong yields. Spread it level, pop the lid on, and let the mycelium knit the whole tub into one solid white mass over one to two weeks. Patience again. The Fungi keep teaching the same lesson.

Stage 5 — Fruiting
This is the stage you’ve been waiting for. Fruiting is where the mycelium stops just growing and decides to reproduce — to push up the actual mushrooms. It does this in response to environmental cues, and your whole job is to give it those cues convincingly.
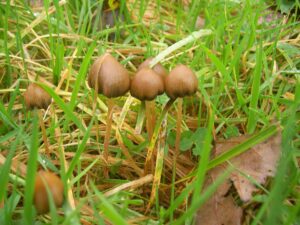
Once the substrate surface is fully colonised, you shift conditions: high humidity (around 90%+), regular fresh air exchange, indirect light, and often a slight drop in temperature. The mushroom reads all of that as “I’ve reached the surface, the world is out here, time to make spores.” Fresh air is the cue beginners most often get wrong — mycelium breathes, it exhales CO₂, and a stale stuffy tub produces sad, stalky, deformed mushrooms. Fan the tub a couple of times a day, or set up passive exchange. Within days you’ll see pins — tiny pinhead mushrooms — and over roughly a week they balloon into mature fruits. Watching the first pins appear never gets old. Honestly, ten years in, I still get stoked every single time.

Stage 6 — Harvest and storage
Mushrooms are harvested right before, or just as, the veil under the cap begins to tear. Wait too long and the caps open fully, drop their spores all over your tub (messy, and it can speed contamination), and lose a little potency. So watch closely as they mature.
To harvest, take the whole cluster at once — gently grip at the base and twist-and-pull, or cut at substrate level. Then dry them. Drying is non-negotiable for storage: fresh mushrooms are mostly water and will spoil in days. Start with airflow from a fan to get them most of the way there, then finish in an airtight container with a desiccant like silica gel until they’re cracker-dry — they should snap, not bend. Properly dried mushrooms, kept in an airtight jar somewhere cool and dark, stay good for many months. And don’t toss the tub after one harvest: most substrates will give you two or three more flushes. Rehydrating the tub between flushes (a “dunk”) helps it keep producing. Once your harvest is dried, there are gentler ways to take it than chewing through dried caps, the most popular being lemon tek.

Common beginner mistakes to avoid
I’ve watched a lot of first grows fail, and almost every failure traces back to the same short list of avoidable errors. None of them are about talent — they’re about respecting the process.
The big ones: working in a dusty, draughty space instead of a still, clean one. Opening jars and tubs far more often than necessary — every peek is a risk. Using grain that wasn’t fully sterilised, or inoculating it while it was still warm. Rushing to bulk substrate before the grain is genuinely 100% colonised — this is probably the single most common one, and it’s pure impatience. Skimping on fresh air during fruiting and ending up with stunted, deformed mushrooms. And the emotional mistake: refusing to throw out a contaminated jar because you’re attached to it, and letting it sit next to your healthy work.
Here’s the mindset shift that fixes most of this: you’re not forcing mushrooms to grow, you’re removing every obstacle so they can. Clean technique, patience, and good observation beat fancy equipment every time. We go deep on this in 5 common mushroom cultivation mistakes.

Easier methods: the Hoodie Tek and grow kits
If the full lab-style process I’ve described feels like a lot — the pressure cooker, the jars, the still air box — I get it. The good news is you don’t have to start there.
The Hoodie Tek is a low-maintenance, low-equipment method that is perfect for exactly this — it strips the process down to something you can do your very first weekend without buying a wall of gear. It’s genuinely one of the friendliest on-ramps into cultivation I know. Pre-made grow kits are another option: they handle the trickiest sterile stages for you, so you basically just provide the right environment and watch it fruit.
Both routes trade away some yield and some control for a much gentler learning curve — and that’s a completely fine trade for a first grow. Confidence compounds. Get one successful flush behind you, however you got there, and the full process stops looking intimidating and starts looking like a craft you want to master.
How the Hoodie Tek works
The Hoodie Tek was created by Jesse Noller of Humble Fungus, a Colorado mushroom farm, and it has quietly become one of the most popular ways to grow magic mushrooms at home. The whole method runs inside a single substrate grow bag, so there is no monotub to build and almost nothing to maintain between steps.
You mix your colonized grain spawn straight into a bag of pasteurised substrate, seal it, and let it colonise for about two weeks. Then you wrap a rubber band around the block an inch or so below the top surface. That band does something clever: it creates a pressure gradient that tells the mycelium which way is up, and it keeps the bag tight to the block so you avoid side pins. To fruit, you cut a small slit near the top, let pins form, and widen the opening as the mushrooms grow.
Here is where the name comes from. After your first harvest, you tuck the cut top back down over the block like a hood. That traps humidity and CO2 against the surface, protects the substrate from contamination, and sets up a stronger second and third flush. It is a smart, low-effort approach, and it works for gourmet and medicinal species just as well as it does for Psilocybe cubensis.

How long does it take to grow magic mushrooms?
A first grow takes roughly 8–12 weeks from spore to dried harvest. Broadly that breaks down as 2–4 weeks for grain colonisation, 1–2 weeks for the bulk substrate to colonise, 1–2 weeks for fruiting, plus several days of drying at the end.
A few things shift that timeline. Liquid culture instead of spores can shave a week or more off colonisation because you’re starting with living, vigorous mycelium. Warmer (within reason) and more stable temperatures speed things up; cold rooms drag everything out. And experience itself is a multiplier — your second grow is almost always faster and cleaner than your first, simply because you stop second-guessing and start trusting the process. Don’t optimise for speed on grow number one. Optimise for finishing.

Frequently asked questions
A complete beginner setup typically runs about 150 to 250 dollars, covering a pressure cooker, still air box materials, grain, bulk substrate, jars, a monotub, and a spore syringe. The pressure cooker is the biggest single cost, and the one piece worth not cheaping out on. After your first grow, ongoing costs drop to almost nothing. Grain and substrate are cheap, and you can clone your own cultures for free.
No, and this is the biggest myth in cultivation. A clean room, a still air box, and a pressure cooker are plenty for reliable home grows. Most growers, myself included in the early days, work on a kitchen table. What you need isn’t a lab, it’s still air and clean habits.
Oyster mushrooms are the most forgiving species for an absolute beginner. They’re fast, aggressive colonisers that outcompete contamination, and they fruit on all sorts of substrates. Among psilocybe species, Psilocybe cubensis is the most widely cultivated and the most beginner-friendly, which is why almost every guide, this one included, is built around it.
Contamination almost always comes down to non-sterile technique. Airborne mould spores or bacteria slip in during inoculation or transfers, or the grain wasn’t fully sterilised. Working inside a still air box, sterilising properly, letting jars cool completely, and minimising how often you open containers prevents the large majority of it. If a grow contaminates, don’t take it personally. Diagnose which step let it in, and tighten that step next time.
For colonisation, aim for a stable 21 to 24°C (70 to 75°F) in the dark. Psilocybe cubensis likes it warm. During fruiting, mushrooms tolerate and often appreciate a slightly cooler range, which along with light and fresh air signals them to fruit. Stability matters more than hitting an exact number. Wild temperature swings stress the mycelium.
Once mushrooms are cracker-dry, store them in an airtight container, ideally a sealed jar with a desiccant packet, somewhere cool, dark, and dry. Kept that way they hold up for many months. Light, heat, moisture, and air are the four things that degrade them, so a jar at the back of a cupboard beats a bag on the counter every time.
Yes, and this is worth repeating. The entire process in this guide works identically for legal gourmet and medicinal species. Learn the craft with oyster or lion’s mane, build real skill and confidence, and every bit of it transfers directly the day your laws change or you travel somewhere they’re legal. Check your local laws first, always.

Ready to grow with confidence?
This guide gives you the map. But there’s a real difference between reading the map and walking the trail with someone who’s walked it a thousand times.
If you want the turn-by-turn — 70+ video lessons showing every transfer, every technique, and every troubleshooting fix, plus a 130-page workbook and a community you can actually ask questions in — our Online Mushroom Cultivation Course takes you from total beginner to confident, self-sufficient grower. It’s the course I wish I’d had when I started. You can also explore our full collection of mushroom growing resources — all free.
However you start, just start. The Fungi are extraordinarily patient teachers, and a first flush of mushrooms you grew with your own hands changes something in you. Pura Vida.